frp配置-内网穿透工具最佳实践
frp是一个可用于内网穿透的高性能的反向代理应用,支持 tcp, udp 协议,为 http 和 https 应用协议提供了额外的能力,且尝试性支持了点对点穿透。
2017年我曾经整理过一篇关于frp的文章,当时frp的版本还是V0.20.0,现在已经发展到了v0.32.1。其中有一些小变动和补充,我会在这里做一个再次整理。
1 准备工作
准备两台机器A和B(如果你只是做测试,可以只用一台机器,但其中的端口冲突需要自行解决)
从这里下载最新版本frp文件,x64服务器请选择amd64格式。这里以frp_0.32.1_linux_amd64.tar.gz为例。
下载完成后,分发文件到两台机器上解压。
tar -zxvf frp_0.32.1_linux_amd64.tar.gz解压完成后,会出现对应的文件夹。
2 systemd配置
从v0.25.2版本开始,frp提供了一份默认的systemd配置,也就是说我们可以通过systemd来管理frp了。
进入被解压的frp目录,会看到有一个systemd目录。里面有四个文件frpc.service、frpc@.service、frps.service、frps@.service。
其中frps开头的文件用于服务端,frpc开头的文件用于客户端。带@符号的文件适用于一台服务器上多用户使用frp,这里我们主要以单用户使用来讲解。
第一步,服务端和客户端分别复制frps.service、frpc.service到/etc/systemd/system/目录下。
第二步,在被解压的frp目录中将frps、frpc应用程序分别复制到服务端和客户端的/usr/bin/目录下。
第三步,在被解压的frp目录中将frps.ini、frpc.ini配置文件分别复制到服务端和客户端的/etc/frp目录下,如果/etc/frp目录不存在,请手动创建mkdir /etc/frp。
第四步,重新加载systemd配置:systemctl daemon-reload。
第五步,设置开机自启动。在服务端使用systemctl enable frps,在客户端使用systemctl enable frpc。
经过上面五个步骤,systemd的相关配置已经完成,但还没有正常启动,在完成相关配置后,我们再来启动它。
3 服务端配置
编辑/etc/frp/frps.ini文件。
# [common] is integral section
[common]
# 如果有多个IP,可以选择绑定到不同的ip上
bind_addr = 0.0.0.0
bind_port = 7000
# udp port to help make udp hole to penetrate nat
bind_udp_port = 7001

# 虚拟主机配置,不能和系统中已监听的端口冲突。http和https可以设置成同一个
vhost_http_port = 8080
vhost_https_port = 4433

# 服务端web面板
dashboard_addr = 0.0.0.0
dashboard_port = 7500
# 设置用户名密码,默认都是admin,请注意做修改
dashboard_user = admin
dashboard_pwd = admin

# 普罗米修斯运维服务,go语言相关监控,可以关闭
enable_prometheus = false

# 设置日志文件地址
log_file = /var/log/frps.log
# trace, debug, info, warn, error
log_level = info
log_max_days = 3
# disable log colors when log_file is console, default is false
disable_log_color = false
# DetailedErrorsToClient defines whether to send the specific error (with debug info) to frpc. By default, this value is true.
detailed_errors_to_client = true


# 最新版本支持的验证方式比较多,这里还是选用token模式
# AuthenticationMethod specifies what authentication method to use authenticate frpc with frps.
# If "token" is specified - token will be read into login message.
authentication_method = token
# AuthenticateHeartBeats specifies whether to include authentication token in heartbeats sent to frps. By default, this value is false.
authenticate_heartbeats = false
# AuthenticateNewWorkConns specifies whether to include authentication token in new work connections sent to frps. By default, this value is false.
authenticate_new_work_conns = false
# auth token 相当于密码,请注意保护
token = my_token

# 允许配置绑定的端口
# only allow frpc to bind ports you list, if you set nothing, there won't be any limit
allow_ports = 2000-3000,3001,3003,4000-50000

# pool_count in each proxy will change to max_pool_count if they exceed the maximum value
max_pool_count = 5

# max ports can be used for each client, default value is 0 means no limit
max_ports_per_client = 0

# TlsOnly specifies whether to only accept TLS-encrypted connections. By default, the value is false.
tls_only = false

# 子域名配置,取决于你使用的dns服务器是否支持泛域名解析,如果不支持,请不要填写。
# 如果填写了域名,客户端只需要填写子域名即可。例如客户端填写 client1,那么访问域名就是 client1.frps.com
subdomain_host = frps.com

# if tcp stream multiplexing is used, default is true
tcp_mux = true

# 定制404页面
# custom_404_page = /path/to/404.html配置完成后,重启frps服务systemctl restart frps。如果没有报错,则说明配置是正确的。
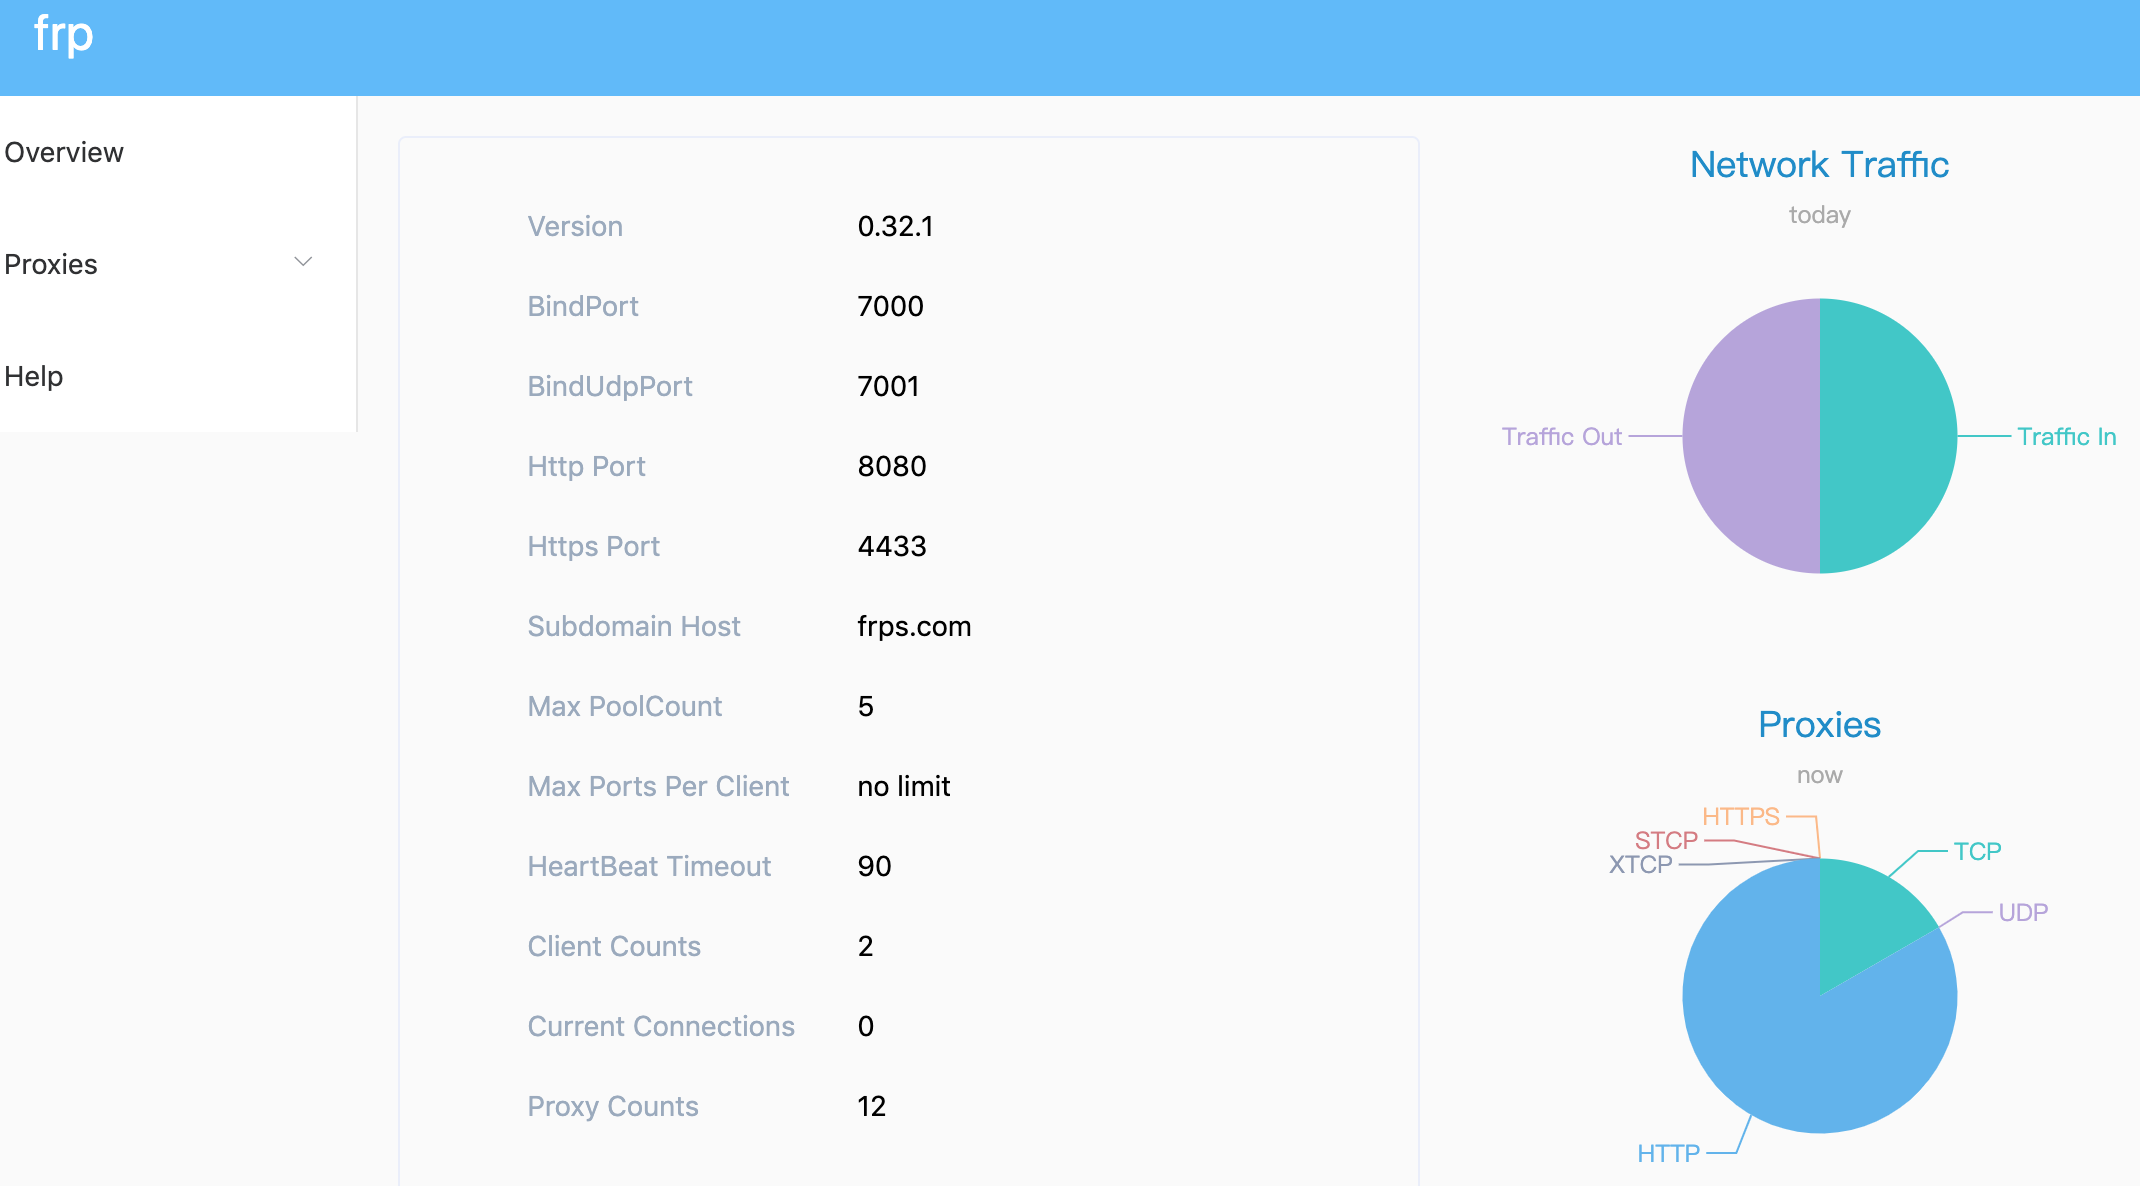
如果配置了管理页面,也可以打开看看能否正常访问。

4 客户端配置
编辑/etc/frp/frpc.ini文件。
# [common] is integral section
[common]
# 服务端地址
server_addr = your_server_ip_or_domain
server_port = 7000

# 日志配置
log_file = /var/log/frpc.log
# trace, debug, info, warn, error
log_level = info
log_max_days = 3
# disable log colors when log_file is console, default is false
disable_log_color = false

# for authentication
token = mytoken

# 客户端配置web页面,配置后可以在web页面修改本地配置
admin_addr = 0.0.0.0
admin_port = 7400
admin_user = admin
admin_pwd = admin
# Admin assets directory. By default, these assets are bundled with frpc.
# assets_dir = ./static

# connections will be established in advance, default value is zero
pool_count = 5

# if tcp stream multiplexing is used, default is true, it must be same with frps
tcp_mux = true

# 客户端名称
user = my_client_name

# decide if exit program when first login failed, otherwise continuous relogin to frps
# default is true
login_fail_exit = true

# communication protocol used to connect to server
# now it supports tcp and kcp and websocket, default is tcp
protocol = tcp

# if tls_enable is true, frpc will connect frps by tls
tls_enable = false


# 下面的配置根据需要自行选择保留

[my_http_web]
type = http
local_ip = 127.0.0.1
local_port = 8080
use_encryption = false
use_compression = true
## 注意,如果服务端没有设置subdomain_host,那么subdomain就不会生效,也不需要填
subdomain = web01
## 可以额外设置定制域名,域名间以逗号分隔。
#custom_domains = web02.yourdomain.com
## http basic 认证,可以不用
http_user = admin
http_pwd = admin

[my_https_web]
type = https
local_ip = 127.0.0.1
local_port = 8081
use_encryption = false
use_compression = true
## 注意,如果服务端没有设置subdomain_host,那么subdomain就不会生效,也不需要填
subdomain = web02
## 可以额外设置定制域名,域名间以逗号分隔。
#custom_domains = web02.yourdomain.com


# SSH访问内网机器
[local-ssh]
type = tcp
local_ip = 127.0.0.1
local_port = 22
remote_port = 6000
use_encryption = false
use_compression = true

# 使用http访问https web 服务
[my_http2https_web]
type = http
## 注意,如果服务端没有设置subdomain_host,那么subdomain就不会生效,也不需要填
subdomain = web03
## 可以额外设置定制域名,域名间以逗号分隔。
#custom_domains = web02.yourdomain.com
plugin = http2https
plugin_local_addr = 127.0.0.1:443
plugin_host_header_rewrite = 127.0.0.1
配置完成后,重启frps服务systemctl restart frpc。如果没有报错,则说明配置是正确的。
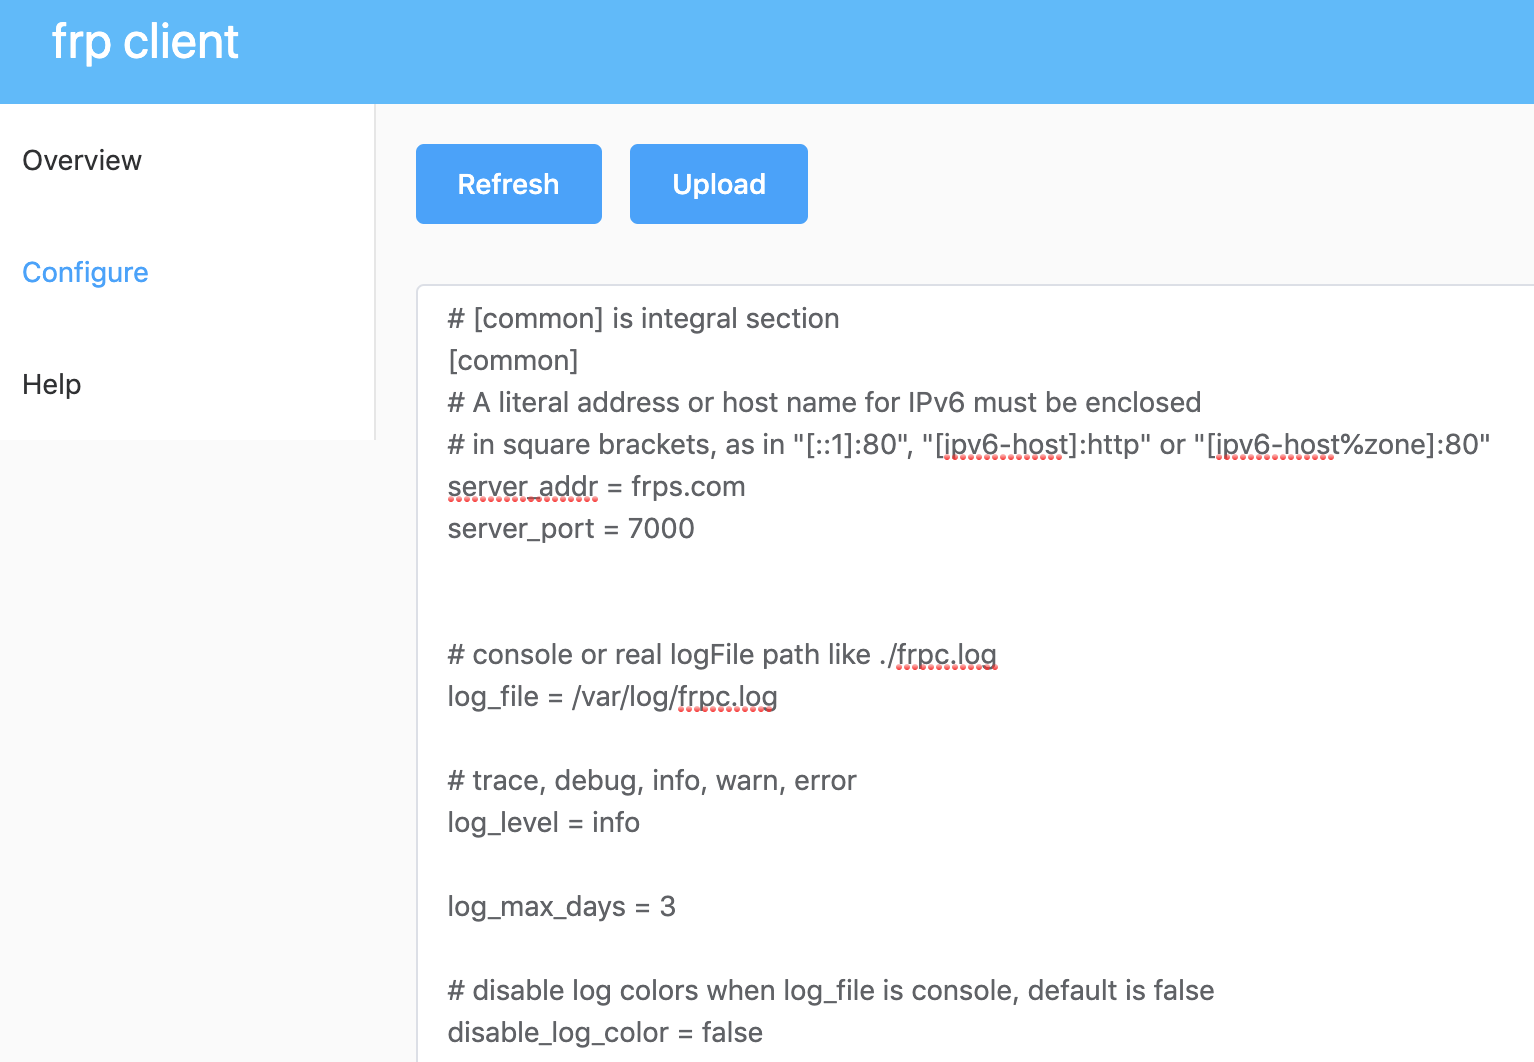
如果开启了客户端web界面,可以尝试访问。

接下来就可以使用frp进行内网穿透了。
5 nginx代理frp
有些服务器上装有nginx,nginx默认对外提供80端口。那怎么才能让frp的http服务也能共用80端口?
以上边frps的配置为例。我们使用的vhost_http_port是8080,subdomain_host是frps.com。那么nginx的配置应该是:
server{
        listen 80;
        server_name *.frps.com;
        location / {
                proxy_pass http://127.0.0.1:8080;
                proxy_set_header Host $host;
                proxy_set_header X-Real-IP $remote_addr;
                proxy_set_header X-Forwarded-For $proxy_add_x_forwarded_for;
                proxy_hide_header X-Powered-By;
        }
        access_log off;
  }
这样,你就能使用正常的80端口来访问本地服务了。
6 小结
frp的配置主要分为下面几个步骤:
- 下载并解压
- 配置systemd服务
- 修改frps配置文件并重启frps
- 修改frpc配置文件并重启frpc
- 如果有必要,配置nginx代理